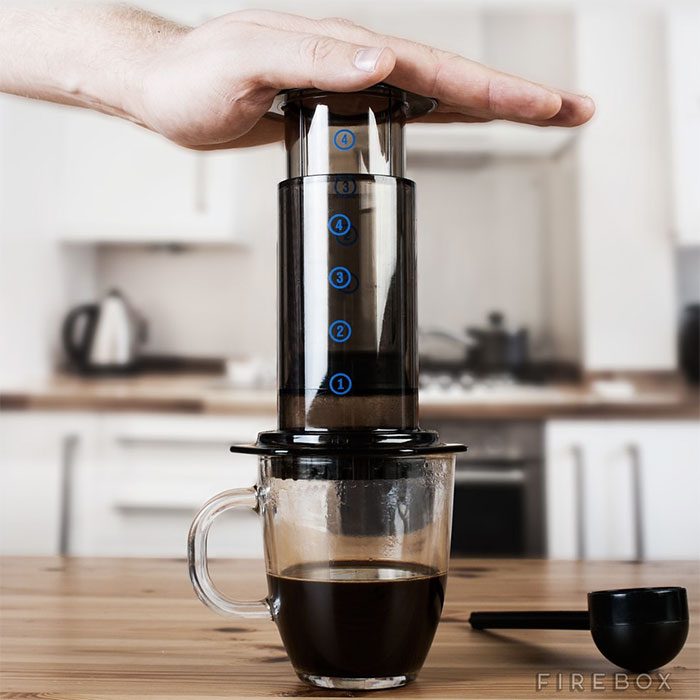
An innovative device invented in 2005, the Aeropress combines steeping with forced plunging utilizing air pressure. Honey Deux recommends using the “inverted” method, which is described here.
TOOLS
- Aeropress
- Aeropress Filter
- Coffee
- Grinder
- Scale
- Timer
- Wooden Spoon
DIRECTIONS
- Bring roughly 160g water to the boil. Load a filter into the Aeropress’ cap.
- Weigh out 18g coffee and grind it to a fine grind—somewhere between drip and espresso.
- Assemble your Aeropress upside down (flared end up, numbers inverted) and place it on a tared scale. Make sure the plunger is marked at 3.
- Drip a little hot water onto the filter to help it adhere to the cap, as you’ll be inverting it to attach.
- Add coffee to Aeropress.
- Add 160g of water making sure all the coffee is evenly saturated.
- Gently stir 6 times then place the cap on top.
- Let sit for two minutes.
- Flip the entire assembly over in one smooth controlled motion to sit on top of a cup or other vessel with a rim diameter smaller than the Aeropress’ flared section. The Aeropress is now “right-way-up.”
- Begin applying downward pressure to the upper section of the Aeropress. Be careful when you get to the bottom, as the last liquid exiting the chamber is followed by a hiss of vapor—if you are holding the Aeropress to the brew vessel by the flared flange (as we tend to do) you can scald your fingers.
- Your coffee is now brewed and you can now remove the Aeropress.
Now enjoy your coffee!

